By Alice DeLuca “…I really, truly, absolutely, do not care about you or your food. I don’t. ...

By Alice DeLuca “…I really, truly, absolutely, do not care about you or your food. I don’t. ...
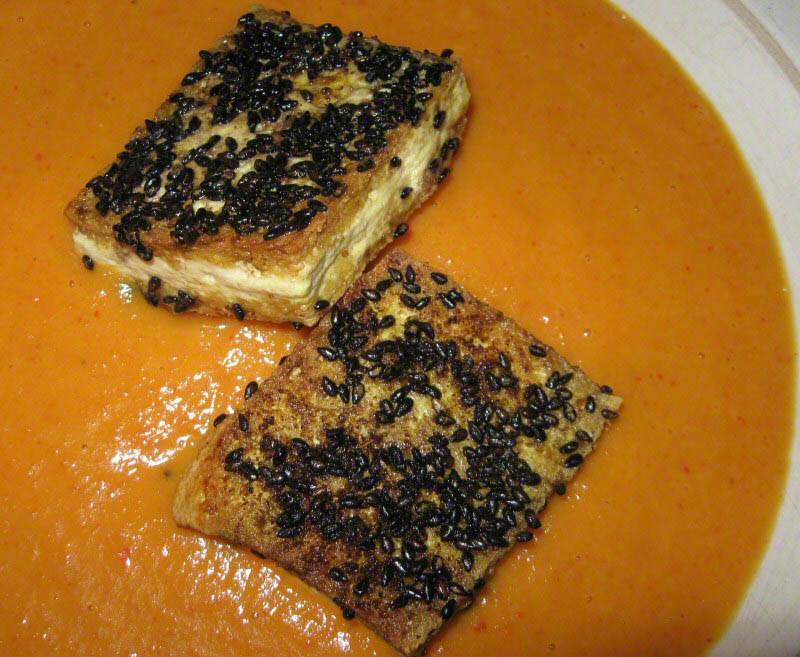
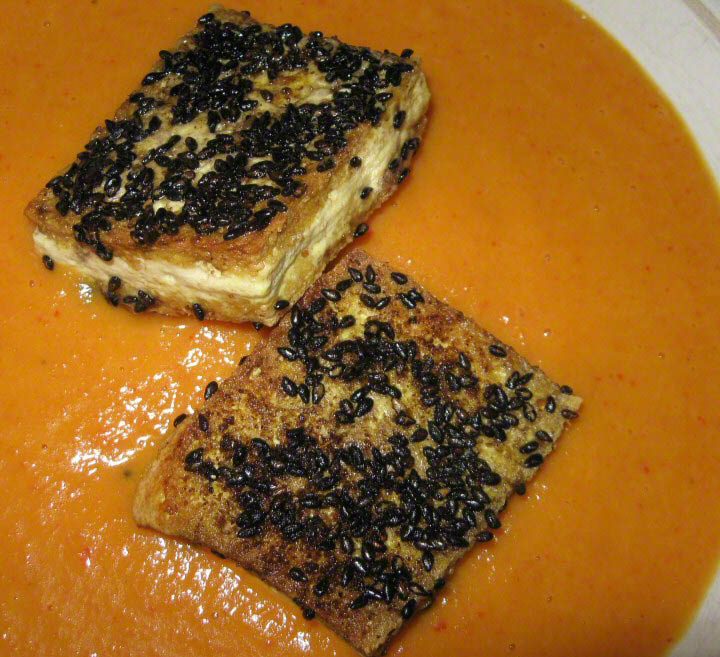
The inspiration for this dish from www.gfzing.com was a trip to the Garden Grille in Providence, ...
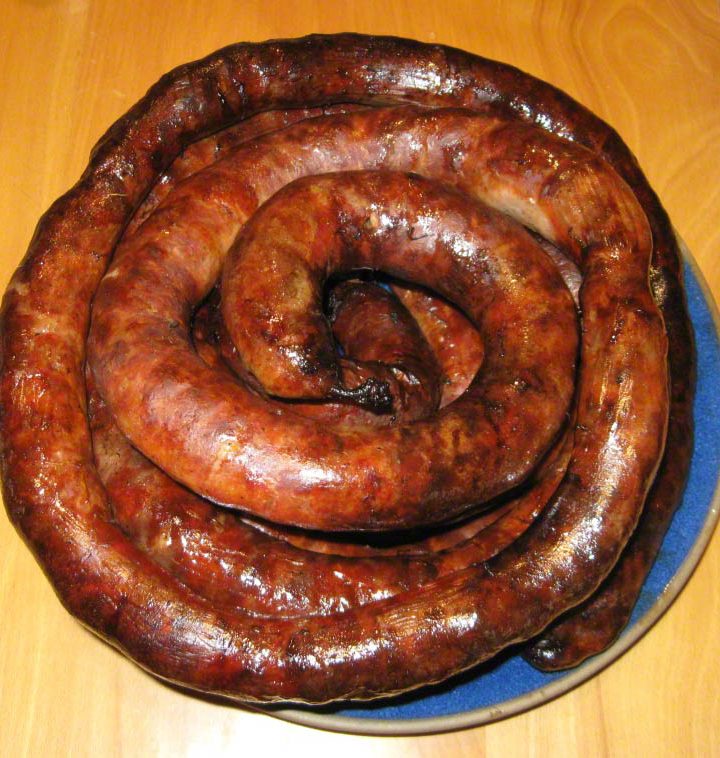
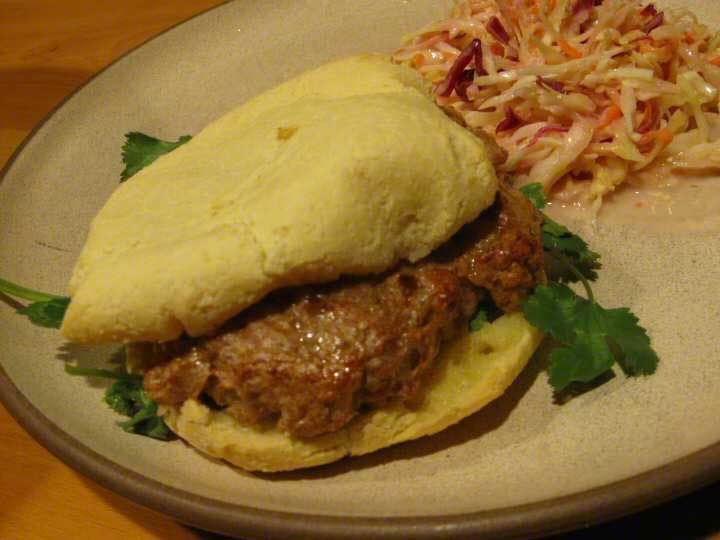
How to make homemade sausages and roast them over flaming aguardente using a Portuguese assador.
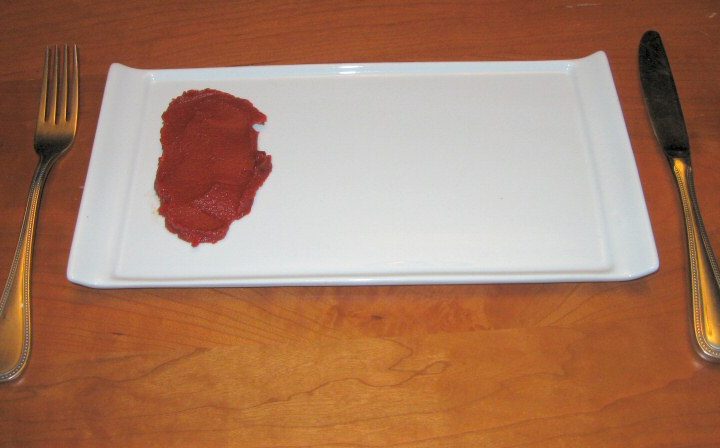
Tomato paste its place in history and in the kitchen – 2012.
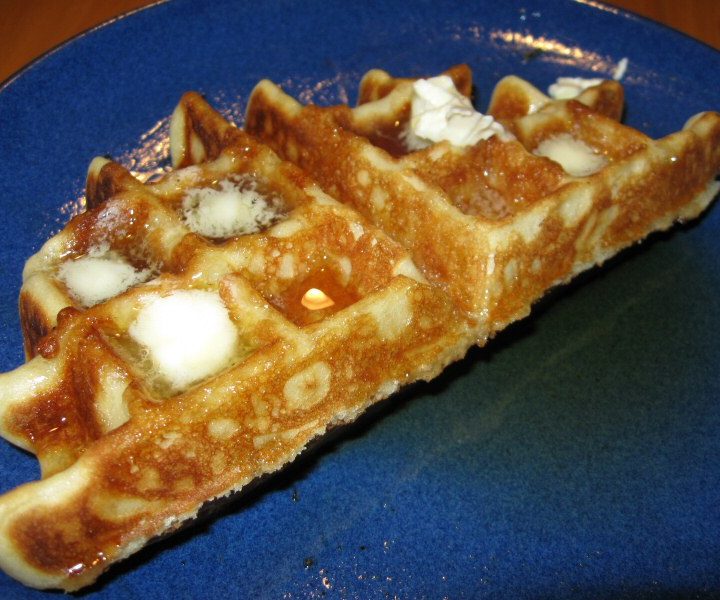
A gluten free pancake or waffle that will rival any wheat-based recipe for flavor and texture…..

Send in your suggestions for Meals for the End of the World – in honor of the Mayan calendar hype!